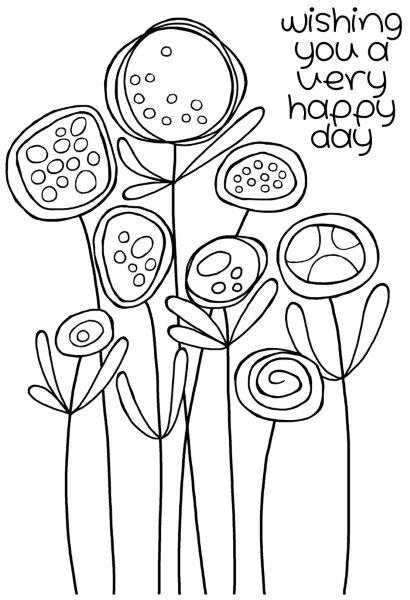
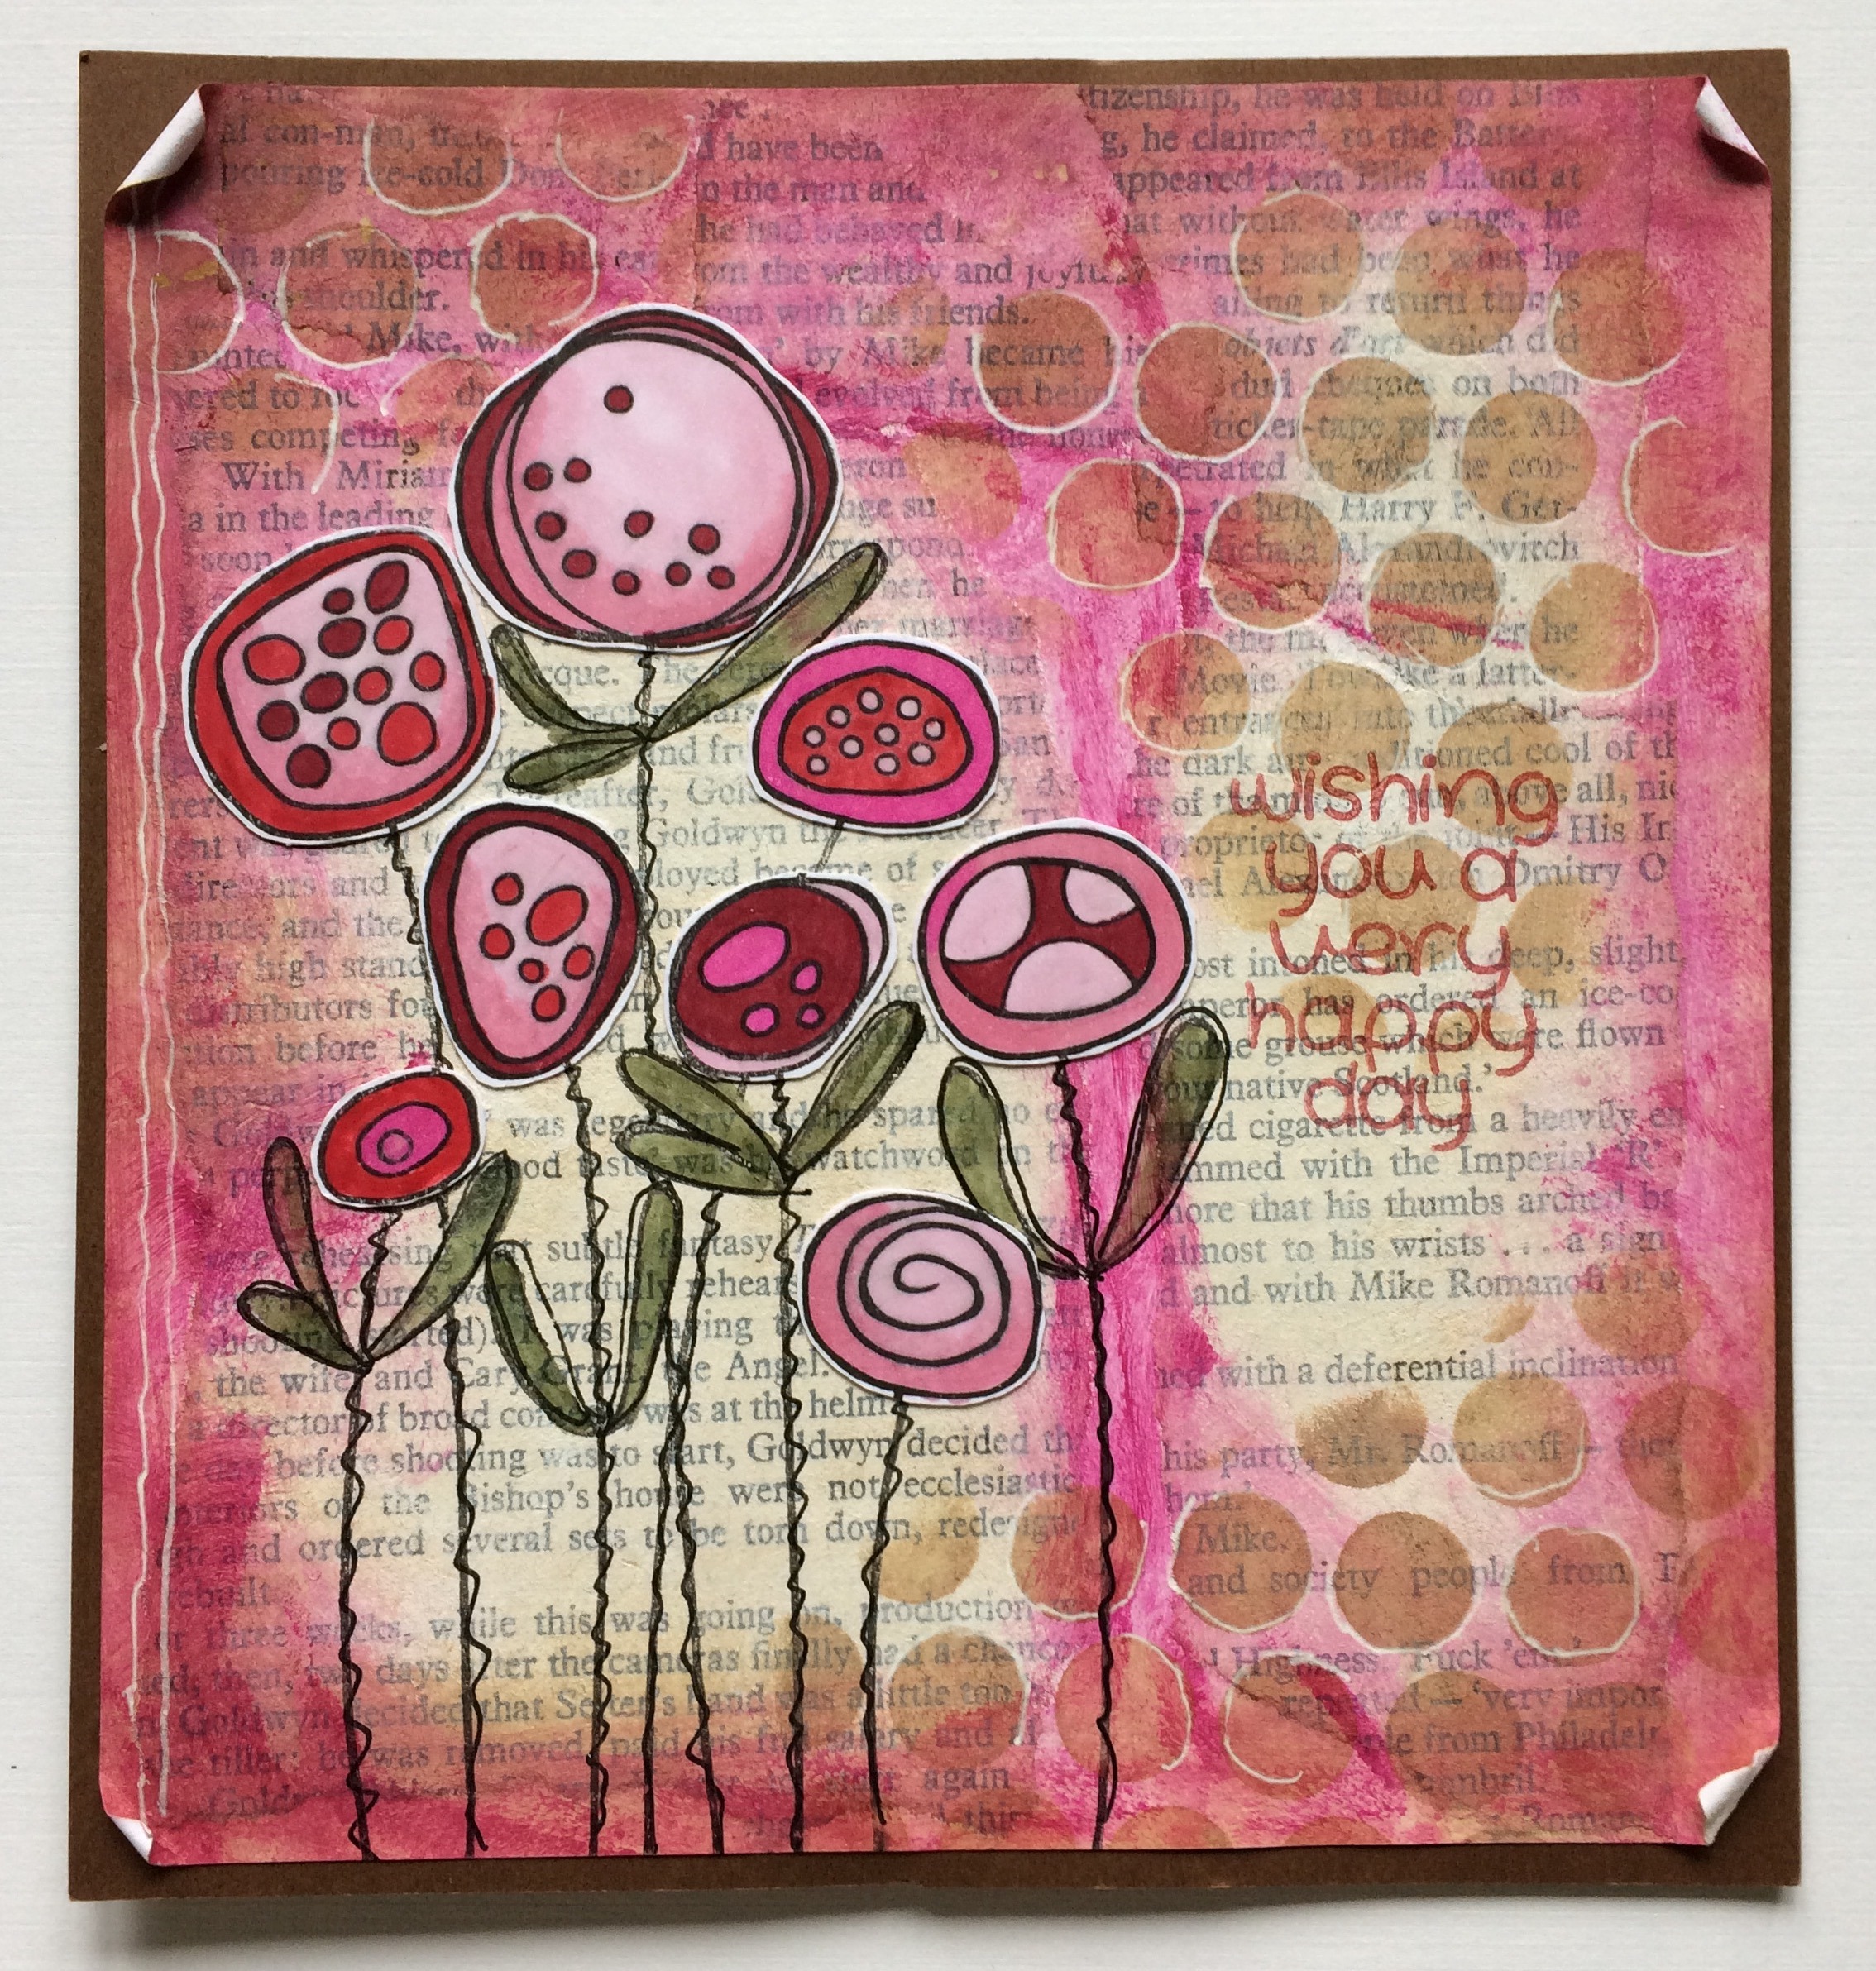
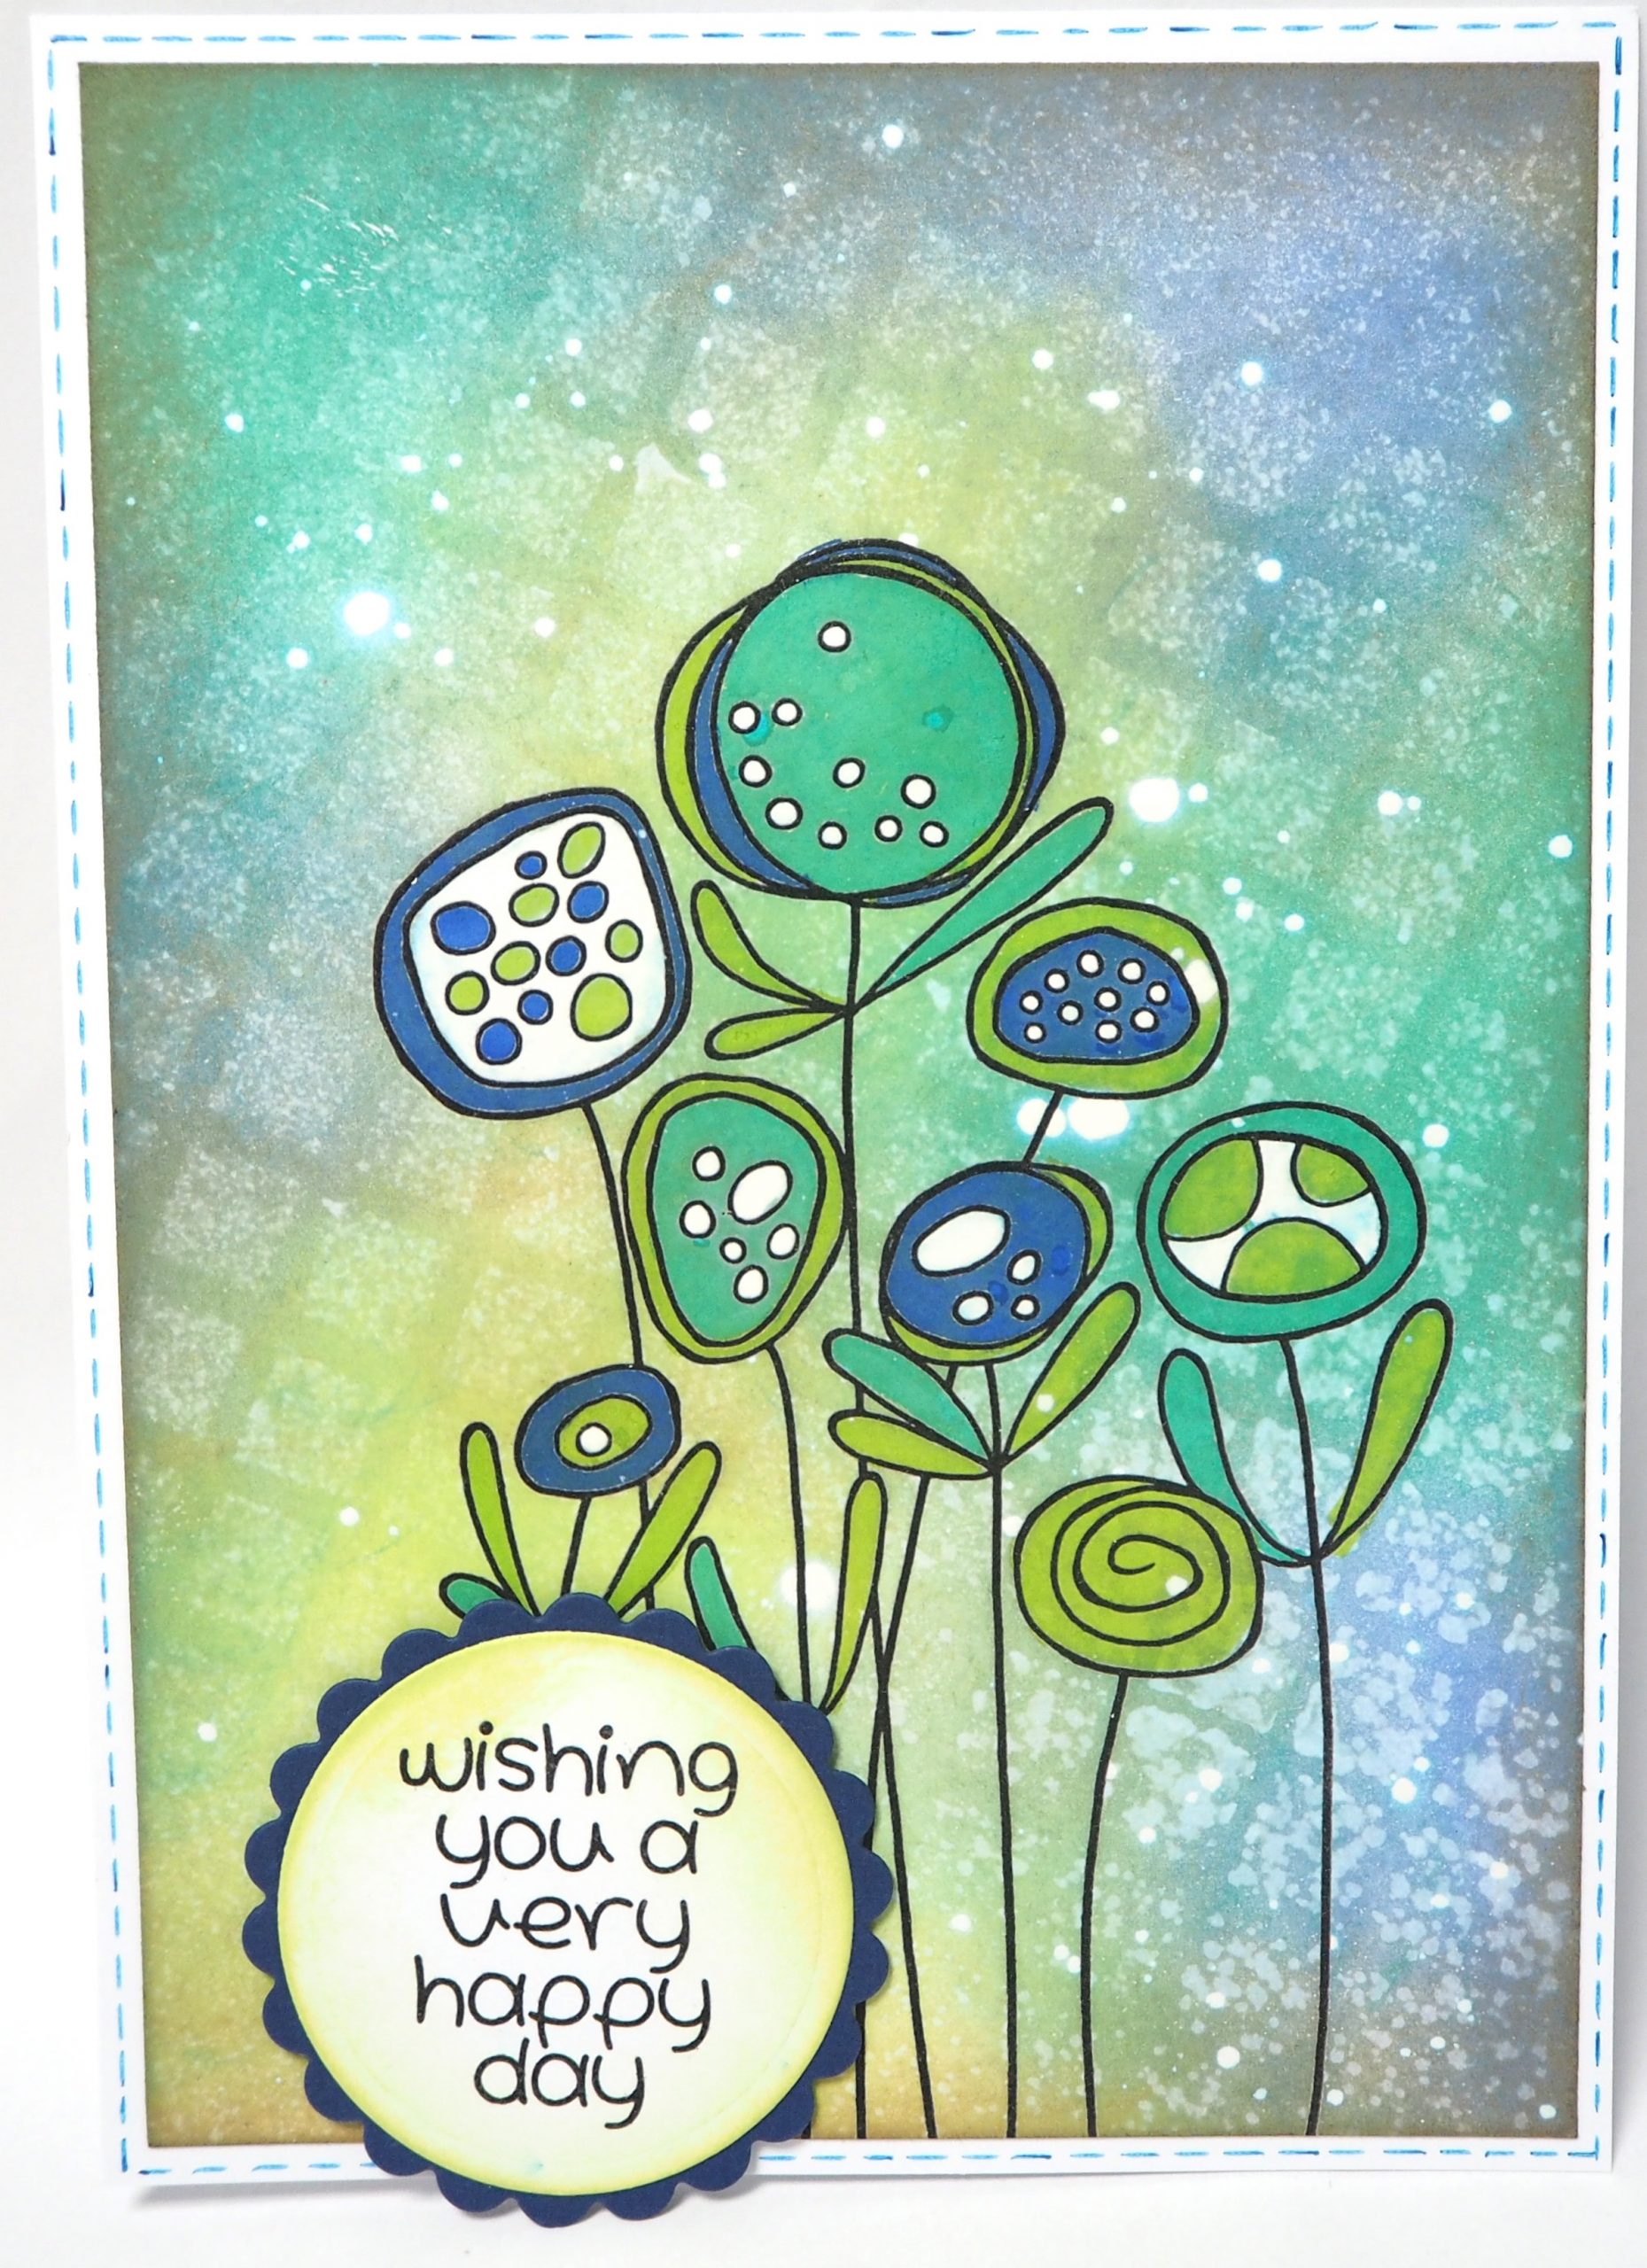
• High quality clear stamps
• 2 Stamps
• Approximate size 14cm x 8.9 cm (4″ x 6″)
40 in stock
| MSRP | $7.50 |
| Code | JGS492 |
Description
These high quality clear stamps give an excellent image. They are perfect for quickly adding inked images to any project. Peel the stamp from the carrier sheet and place on an acrylic block (no adhesive required). They can be used with any ink pad – simply clean after use and return to the carrier sheet for storage.
Projects
Congratulations by Gerry van der Velden
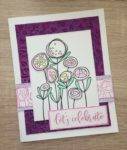
You will need:
Foundation Card A4 Amethyst 200gsm pk 25 41020
Foundation Card Wisteria A4 pk 25 220gsm 41036
Foundation Card Coconut White A4 220gsm pk 25 40980
Woodware Clear Singles – Circle Flowers JGS492
Woodware Clear Singles Scripted Wishes FRS722
Cosmic Shimmer Chalk Cloud Blending Ink Princess Pink CSCHPRINCESS
Cosmic Shimmer Glitter Kiss Antique Rose CSGKROSE
Shadow Boxes Collection Scalloped Lattice Frames – Set B CED9306 (Optional)
Step by step
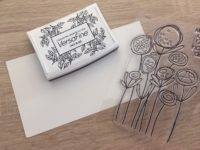
Step 1
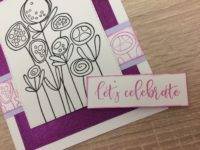
On coconut white card sized 10 x 13cm, stamp the flowers with Versafine ink.
Optional: you can use the Shadow Boxes Collection Scalloped Lattice Frames – Set B to cut this card.
Tip: Versafine gives a nice clear impression and can be coloured with markers or any kind of watercolour without smudging.
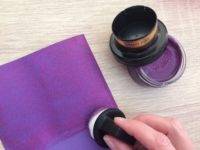
Step 2
Cut the amethyst card to 21.8 x 17cm and colour with Cosmic Shimmer Glitter Kiss in Antique Rose.
Tip: you can use one thin layer so the paper colour still shows, or two thin layers/one thicker layer to cover the paper.
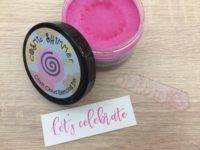
Step 3
Stamp the sentiment on a small piece of Coconut White card.
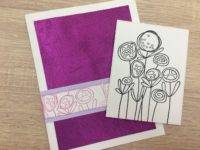
Step 4
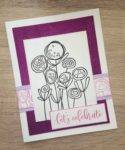
Stamp the flowers with the Chalk Cloud ink on a piece of Coconut White card sized 3 x 14.8cm. Tape it to a strip of Wisteria card sized 4 x 14.8cm. Tape the Glitter Kiss card to a white base sized size 14.8 x 19cm and tape the strips on top.
Tip: where it says tape you can also use glue, I find tape very easy and less messy to use on this particular card.
Step 5
Tape the stamped flowers to the card with foam tape for some extra dimension.
Step 6
Tape the sentiment in place with foam tape on the bottom part so it is on the same level as the stamped flowers.

